 Create
a Blank Report
Create
a Blank ReportThis topic explains how to create a new report.
What do you want to do?
 Create
a Report from Raw Cube Data
To create a Blank Report, perform the following steps:
Click the New
Report Icon ![]() from the toolbar or
select File>
New> Report.
The New Report dialog appears
from the toolbar or
select File>
New> Report.
The New Report dialog appears
Select Blank Report.
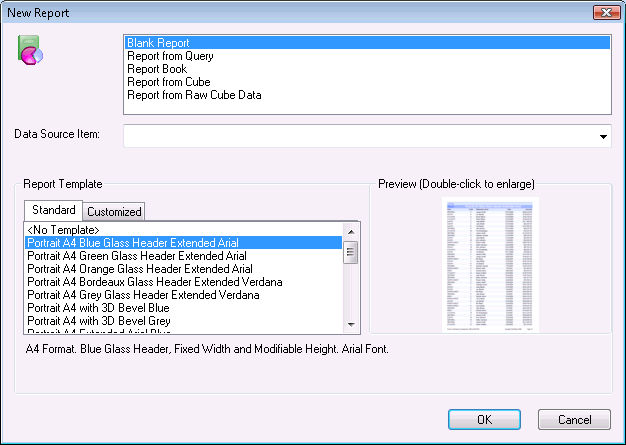
Select the Report Template.
Double-click the Preview picture to enlarge the Preview picture of the report template.
Click OK. The new report will appear with the default report blocks without any query fields already specified.
Insert each required query field by selecting View> Field List and selecting one or several fields.
Perform a drag-and-drop operation to insert the query field in the position you want in the block you select.
Add Label Fields via the Toolbox.
To create a report from a query, perform the following steps.
A report will be created with all the default report blocks and all the
fields of the query positioned according to the model selected, or
a tabular report if no model was selected.
Note: a column report is still available if a column-based model
is used, such as the Portrait A4 Column Report provided by default,
from version 5.0 onwards.
Click the New
Report Icon ![]() from the toolbar or
select File>
New> Report.
from the toolbar or
select File>
New> Report.
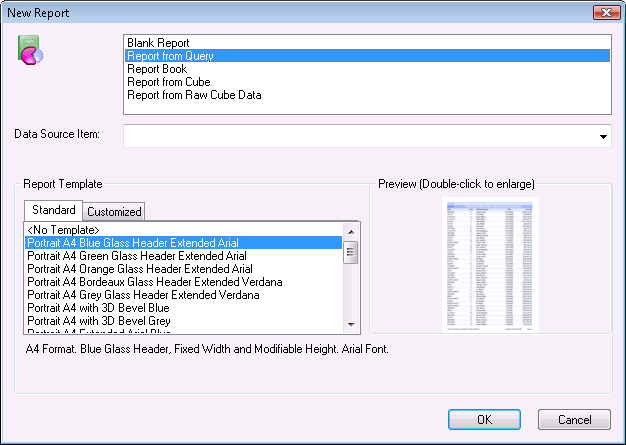
Select
Report from Query.
.
Select
the Data Source Item.
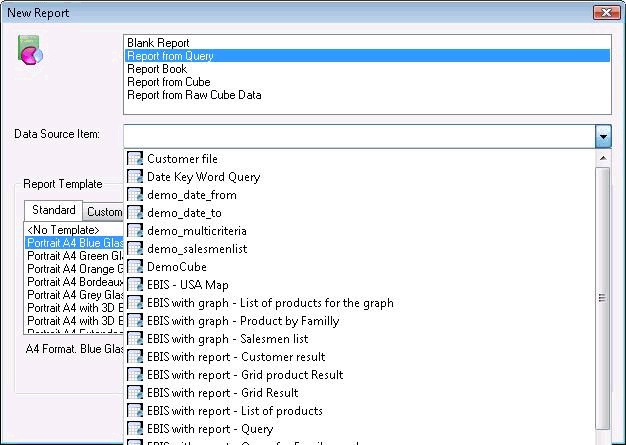
Select the Report Template.
Double-click the Preview picture to enlarge the Preview picture of the report template.
Click
OK. A report will be created with all
the default report blocks and all the fields of the query positioned according
to the model
selected, or a tabular report if no model was selected.
Note: a column report is still available if a column-based model
is used, such as the Portrait A4 Column Report provided by default,
from version 5.0 onwards.
To create a report from a Report Book, perform the following steps. This option creates a Report Book including several existing reports. A Report Book can then be printed to printer, exported to HTML or PDF locally or to ClicknDECiDE Web Server. A Report Book cannot be exported to a ClicknDECiDE Builder output format.
Click the New
Report Icon ![]() from the toolbar or
select File>
New> Report.
from the toolbar or
select File>
New> Report.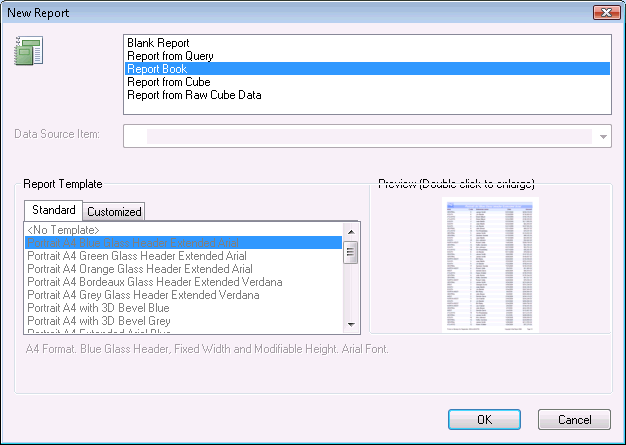
Select Report Book. The other options will appear dimmed.
Click
OK. The Report
Book tab appears.
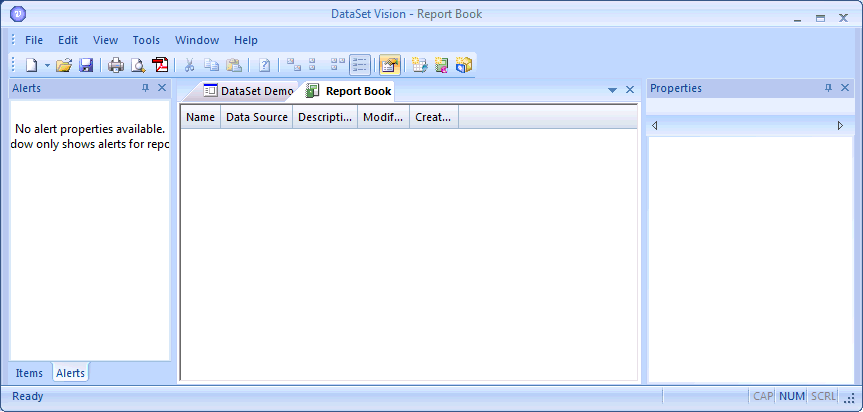
Right-click
in the Report Book central pane,
the context menu appears.
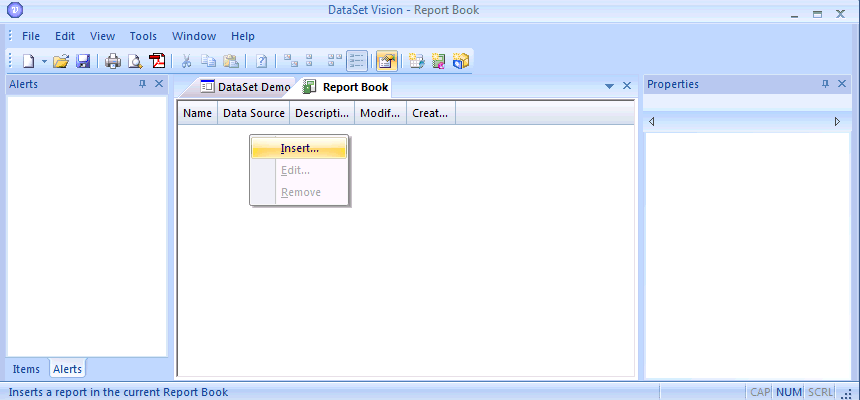
Click
Insert... The Open
Project Item dialog box appears.
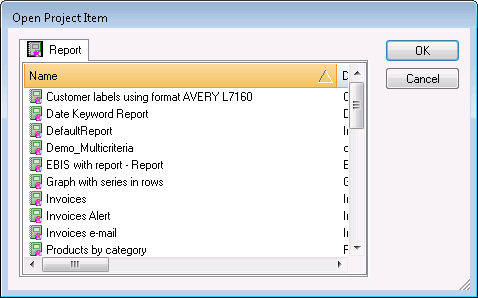
Select
the report you want to include in the Report Book.
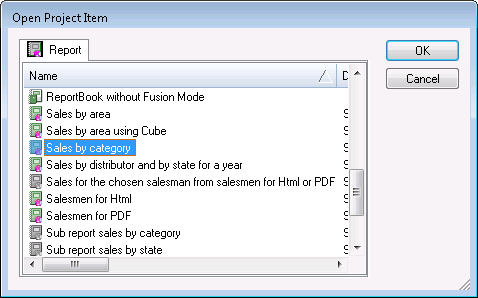
Click OK. The report you selected appears in the central Report Book pane.
Repeat steps 4 - 7 until you gave inserted all the reports you want in the Report Book.
Select
File> Save to save the new
Report Book.
Note: a Report Book can then be printed to printer, exported to HTML
or PDF locally or to ClicknDECiDE Web Server. A Report Book cannot be exported
to a ClicknDECiDE Builder output format.
To create a report from a cube, perform the following steps. This option creates a report from an existing cube.
Click the New
Report Icon ![]() from the toolbar or
select File>
New> Report.
from the toolbar or
select File>
New> Report.
Select Report from Cube
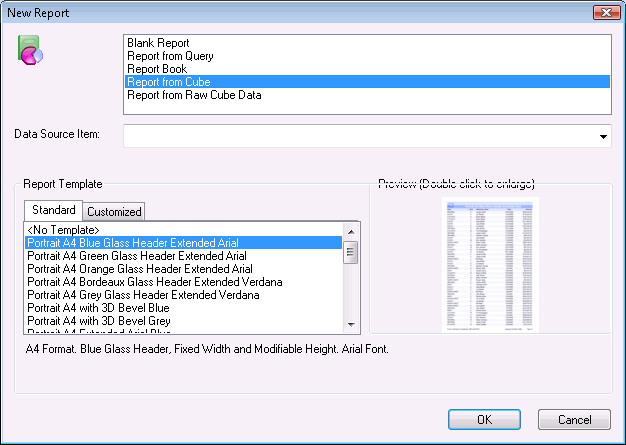
Select
the Cube you want to create the report from.
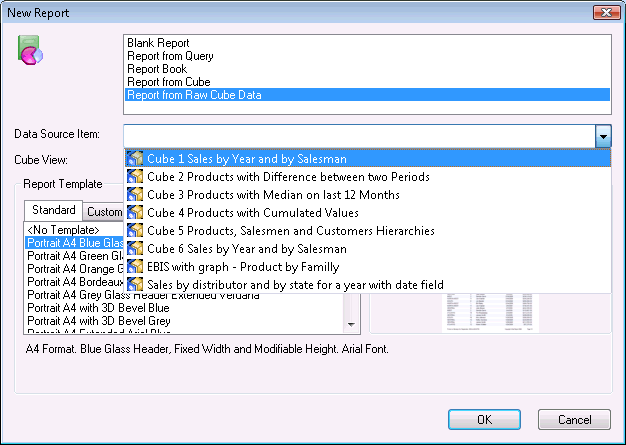
Select the Report Template.
Double-click the Preview picture to enlarge the Preview picture of the report template.
Click OK. The cube will be inserted in the report respecting its page layout (Cube tab and/or Graph tab). It is then possible to retrieve a complete cube in a report (with all the tabs) or to specify a tab (Cube or Graph) which you want to use.
Select File> Save to save the new Report.
Create a Report from Raw Cube Data
To create a report from raw cube data, perform the following steps. This option enables the user to create a report from existing cube data without retrieving its page layout. All the cube's columns will be considered as columns in the report and all the cube's rows will be rows in the report in the Detail block.This option specifically concerns cubes created from a connection with an OLAP Server. The number of columns created in the report will be exactly the number of columns in the cube, the user must therefore pay attention to the way the cube was saved (i.e. in condensed, detailed or partially detailed mode). Each column created in the report becomes a field which the user can use in formula on the new number fields.
Click the New
Report Icon ![]() from the toolbar or
select File>
New> Report.
from the toolbar or
select File>
New> Report.
Click
New.
Select
Report from Raw Cube Data.
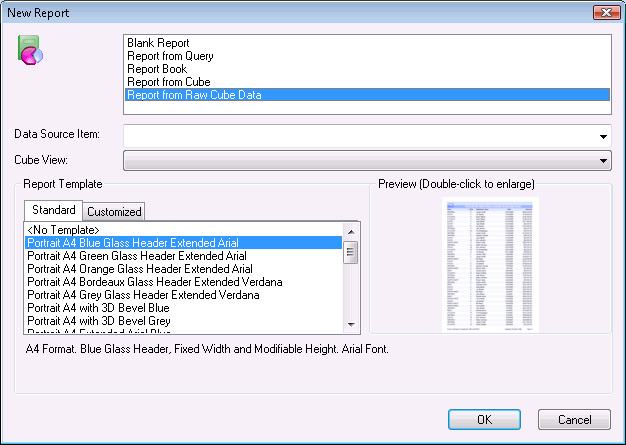
Select the Data Source Item.
Select the Cube View.
Select the Report Template.
Double-click the Preview picture to enlarge the Preview picture of the report template.
Click OK.
Select File>
Save to save the new Report.
|
See Also |
